 When it comes to image processing and development of computer-vision applications, it is quite handy to have an appropriate set of algorithms available to support your task. A major toolset for image processing is OpenCV, when additionally OCR (optical character recognition) is required tesseract-ocr is famous and reliable library. Once these tools are installed it is quite comfortable to work with both if them.
While Linux user have an integrated package manager (apt-get, yum, etc.) which makes it easy to install all the necessary libraries and dependencies, macOS user could use Homebrew or MacPorts. Another possibility to install the required packages on macOS is to compile them from source. This can become cumbersome, but nevertheless I feel comfortable by building the libraries on my own.
This article will cover the following:
- Building tesseract-ocr from source (including the dependencies)
- Setting up the development environment by installing OpenCV and pytesseract using pip into a virtualenv
- Running a simple example which scans a business card and extracts text data recognised by tesseract-ocr
Building tesseract-ocr from source (including the dependencies)
To build and compile on macOS you need to have Xcode installed, which can easily be done using the Mac App Store. Once this is done you need to install the command line developer tools and have to accept the Xcode license. Open a Terminal and type:
# install command line developer tools
xcode-select --install

# accept Xcode license (not being prompted when opening Xcode the first time)
sudo xcodebuild -license accept
Once this is done, all the necessary build tools provided by macOS are ready and setup.
To get tesseract up and running, the following dependencies have to be satisfied:
- libjpeg, libtiff, libpng (install in this order, because libtiff requires libjpeg)
- leptonica (tesseract makes use of leptonica)
- autotools (required by tesseract, find documentation here)
- pkg-config (required by autoconf)
- tesseract-ocr (clone from git repo)
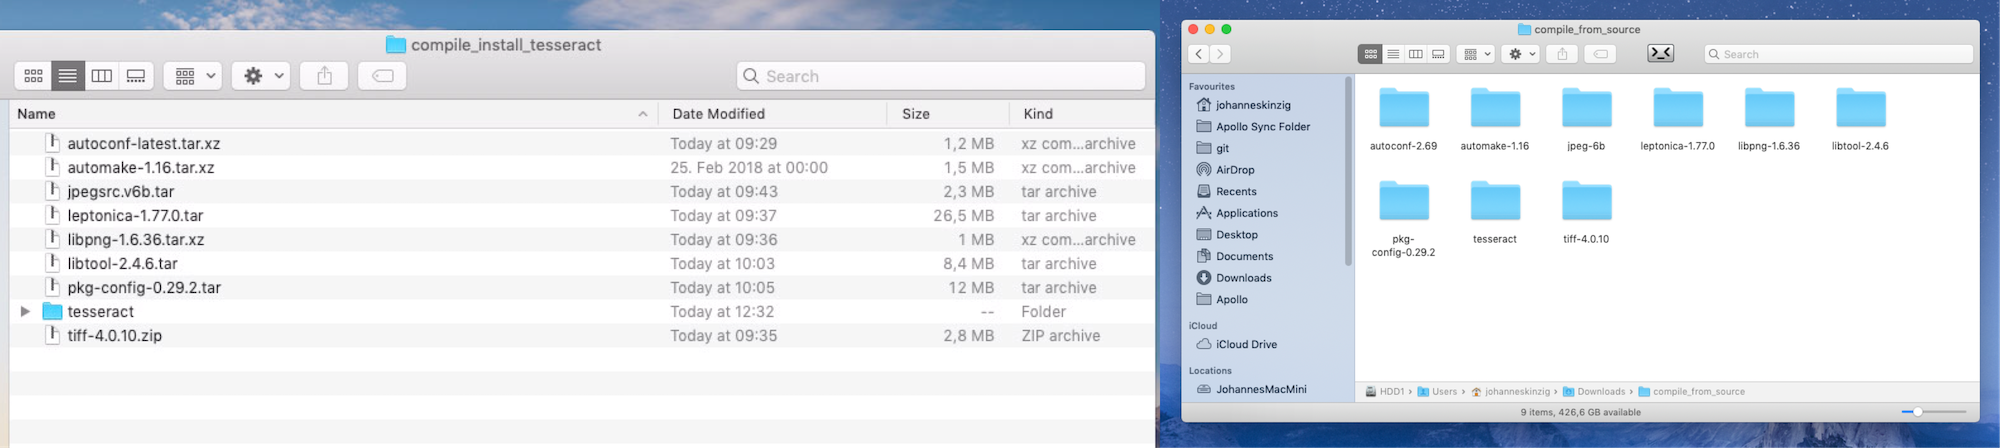
Download the source packages (I recommend downloading a compressed tarball). Once extracted you end up with files and the correct access permission (when cloning the git repo the scripts usually have not set the x flag which is necessary for execution). Extract every archive into a separate folder and start building in the order mentioned above, cd into every package directory and perform (except tesseract-ocr):
./configure
# ... wait ...
make
# ... wait ...
sudo make install
# ... wait ...
(libjpeg failed to install correctly because of the missing folder /usr/local/man. Manually create it by typing sudo mkdir /usr/local/man and try again with sudo make install.) pkg-config requires glib (./configure will fail at this point but I just called it with ./configure --with-internal-glib as proposed in the error message)
When the dependencies are installed we now build tesseract, same here, cd into the tesseract directory and do the following (now using the autotools which we have installed above):
# tesseract was cloned from git, execute flag for script is not set by default, set x flag:
chmod u+x autogen.sh
# then run
./autogen.sh
# ... wait ...
./configure --with-all-languages --with-opencl --with-training-tools
# ... wait ...
make
# ... wait ...
sudo make install
# ... wait ...
Now everything is installed, we additionally need to download and place tesseract's language data files to perform OCR. Visit the repo on GitHub and either download all language files or just the once you need. I just downloaded the ones I need because the whole repo is quite large and takes some time to download.
Place the files in /usr/local/share/tessdata/
Setting up the development environment
Now that we have installed the dependencies for/and tesseract-ocr, we continue by setting up our development environment. Assuming Python3 is already installed (using a package from python.org)
First we install virtualenv to isolate our development projects and we create a virtualenv with a python3 interpreter named tesseract-opencv-ocr-sample. Once activated we can use pip to install the remaining dependencies:
- OpenCV
- pytesseract (Python bindings for tesseract-ocr, needed to make use of the previously installed tesseract libraries)
# assuming you have installed Python3 from python.org

# install virtualenv through pip3
pip3 install virtualenv

# create virtualenv with python3 interpreter
virtualenv -p python3 tesseract-opencv-ocr-sample

# activate the virtualenv
source ./tesseract-opencv-ocr-sample/bin/activate

# install OpenCV through pip, no need for self compilation or installation through Homebrew or MacPorts
pip install opencv-contrib-python

# install the tesseract python binding
pip install pytesseract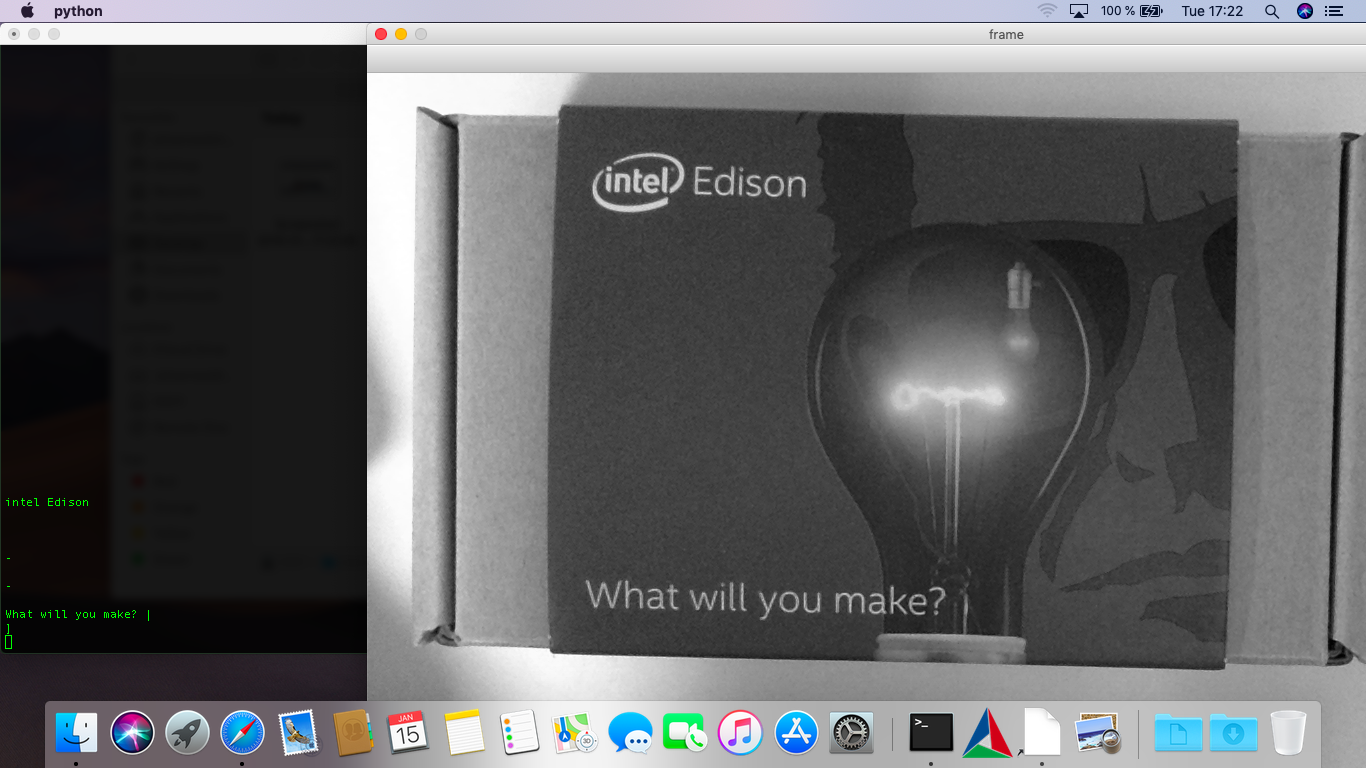
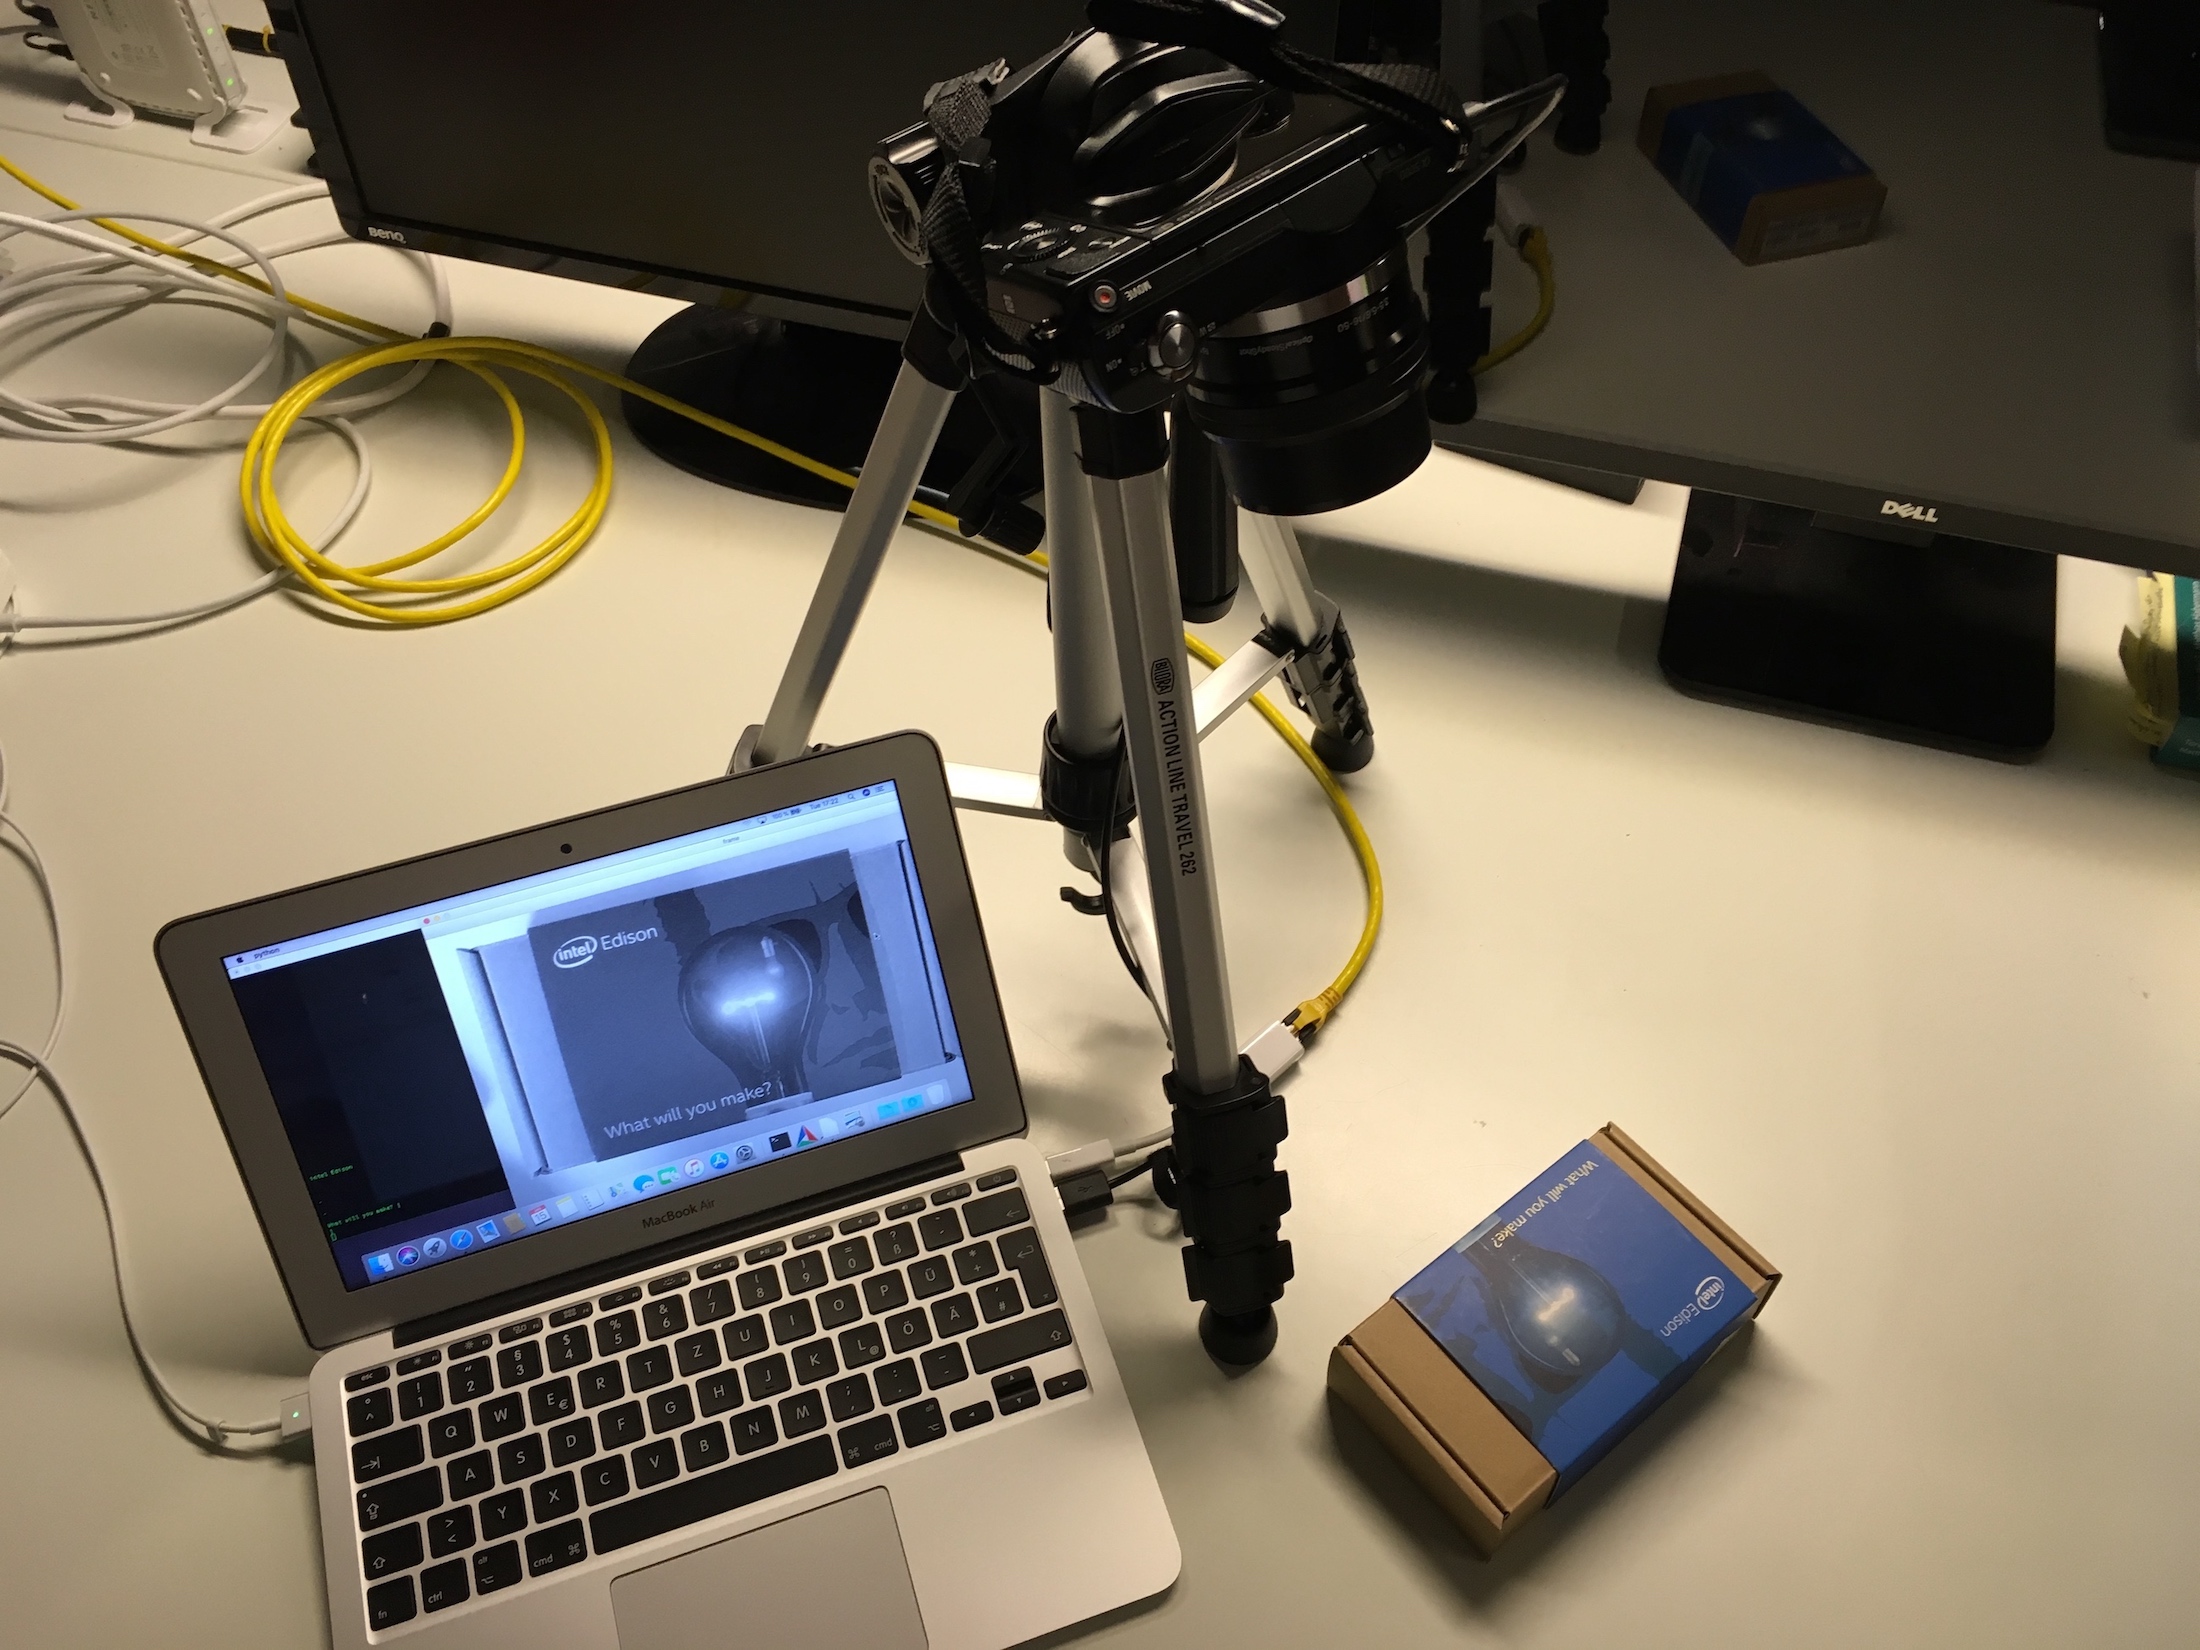
Now, that everything is working as supposed, create a new folder to start developing. The following (sample) script can read a stream from a camera (webcam should be fine) and extract the text... Try it with a business card or something similar...
import cv2
import numpy as np
import pytesseract
from PIL import Image
from pytesseract import image_to_string

print("Put a business card or any other surface with text in the visual range of your attached camera. Once placed correctly, press >d< on your keyboard to detect the text.")

cap = cv2.VideoCapture(0)

while(True):
    # Capture frame-by-frame from attached webcam
    ret, frame = cap.read()

    # operations per frame
    # convert to gray
    gray = cv2.cvtColor(frame, cv2.COLOR_BGR2GRAY)

    # get rid of noise by using erosion and dilation
    kernel = np.ones((1, 1), np.uint8)
    gray = cv2.erode(gray, kernel, iterations=10)
    gray = cv2.dilate(gray, kernel, iterations=10)

    # Display the result
    cv2.imshow('frame',gray)

    # wait for keyboard input >d< to start text detection
    if cv2.waitKey(1) & 0xFF == ord('d'):
        result = pytesseract.image_to_string(gray)
        print(result)

    # wait for keyboard input >q< to quit application
    if cv2.waitKey(1) & 0xFF == ord('q'):
        break


# release capture and terminate
cap.release()
cv2.destroyAllWindows()