Systems Engineering
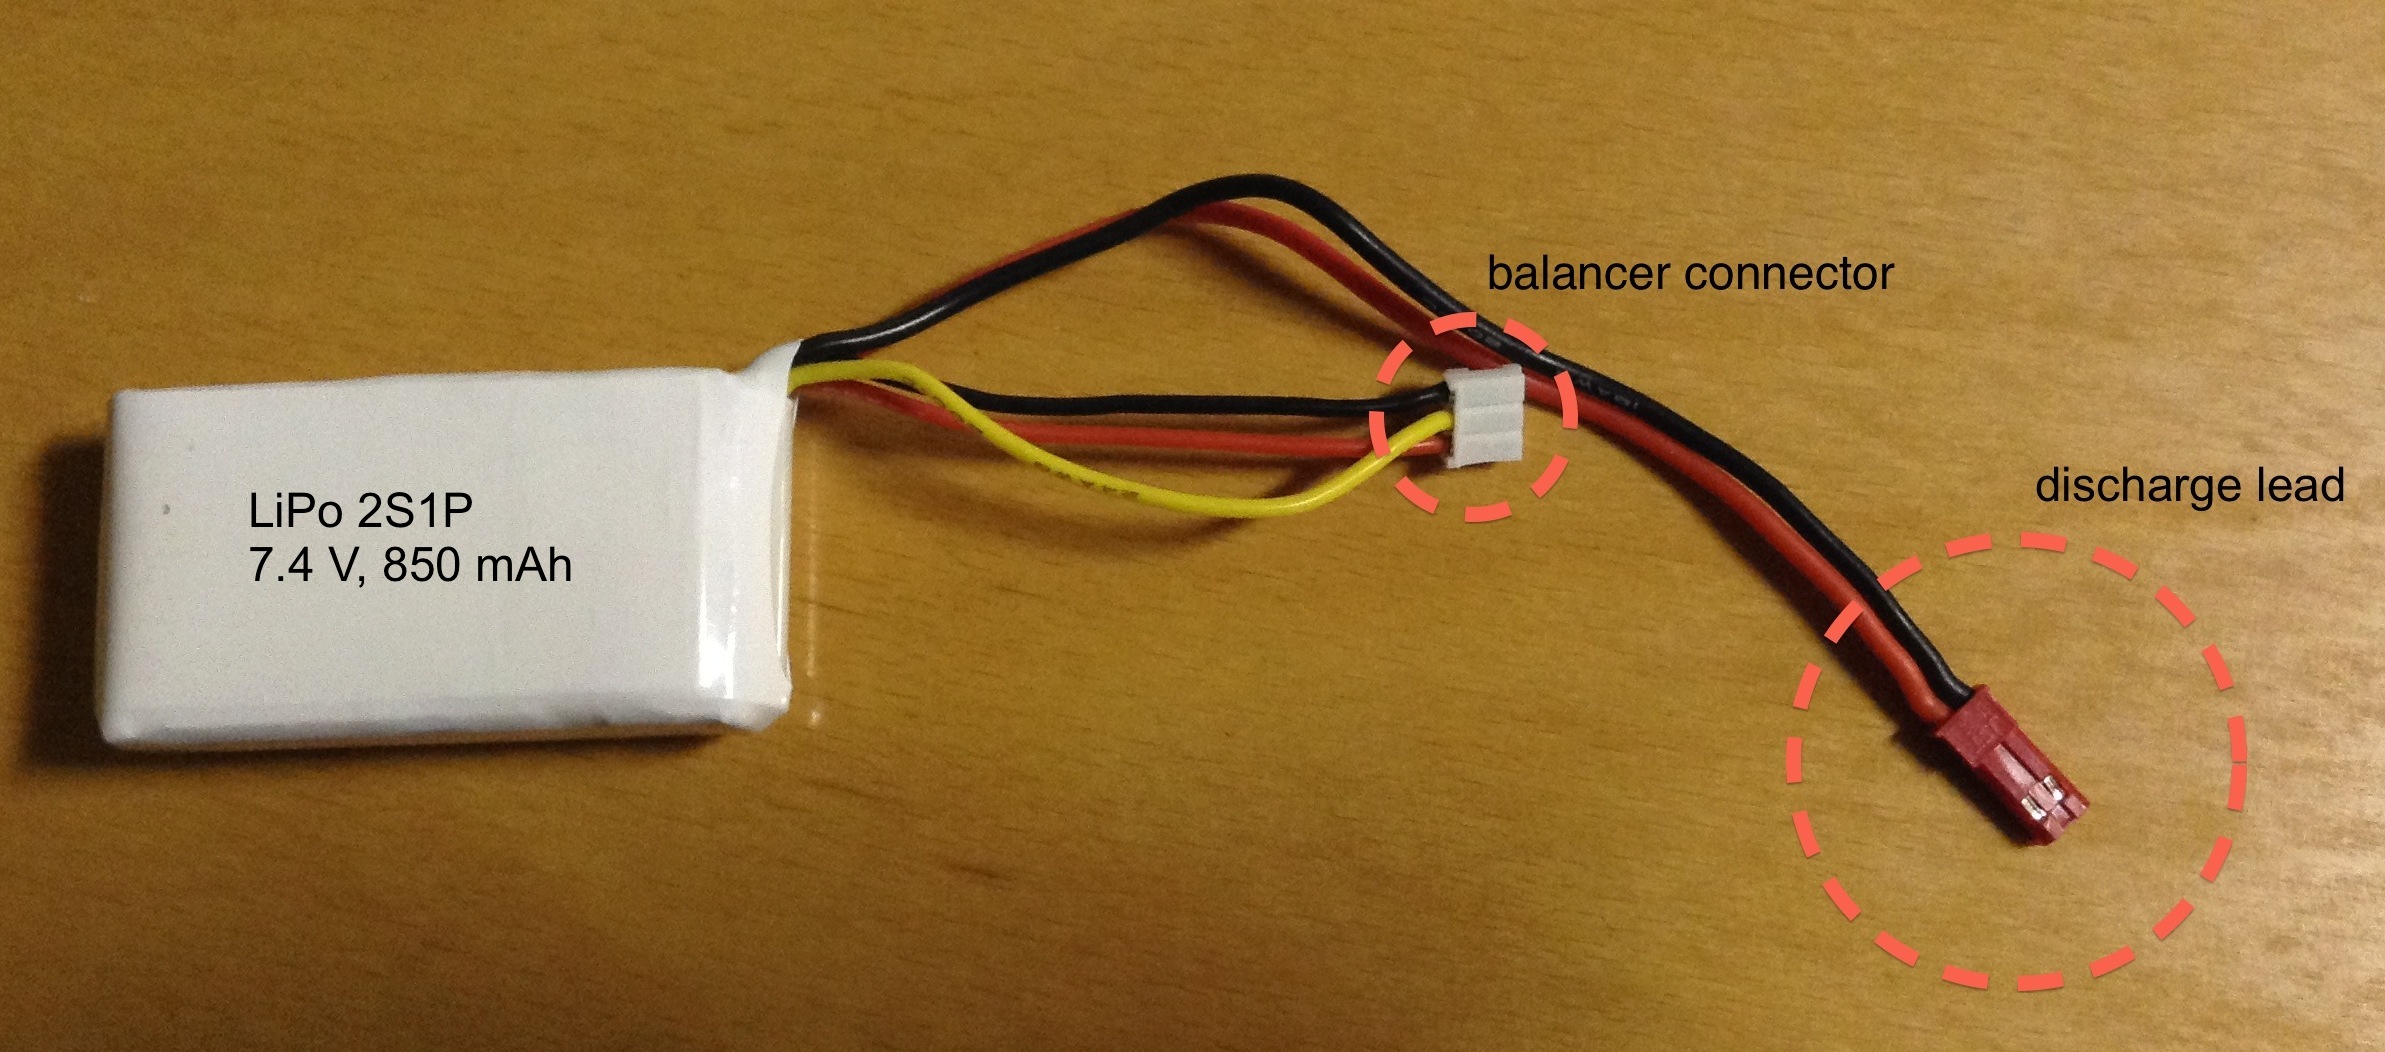
Lithium Polymer batteries have a lot of advantages compared to the standard rechargeable NiMh or NiCd batteries.
It is mainly the weight per cell and per Wh. A LiPo battery can also be much more smaller by having the same capacity and voltage (compared to a NiMh or NiCd rechargeable battery).
This makes the LiPo very useful for small embedded systems, computers (notebook or tablet PCs), phones (smart phones) , etc., (or everywhere else a low weight is needed e.g. RC Hobby…).
Using a LiPo is not as easy as using NiMh batteries. Charging and discharging a NiMh battery (or battery pack) is easy. Discharge until the application stops working, change the battery and meanwhile charge the other one. A charged NiMh cell has a voltage about 1.2 V a discharged one about 0 V (or everything between 0 and 1.2 V).
A LiPo cell has a voltage about 3.7 V when it is discharged and a voltage about 4.2 V when it is fully charged. Here comes the first problem: Discharging a LiPo cell should not go under 3.5 V (this value is controversially discussed) but it is easy to damage a LiPo cell by discharging it below 3 V.
This is the reason why every application which is using a LiPo battery (or battery pack) needs a monitor. The monitor takes care for the battery. The easiest way to monitor such a battery is to check the cell voltage.
IF CELL_VOLTAGE < 3.5 V THEN CUT_POWER
This protects the battery from depth discharge but this technique is not able to provide the batterie's state of charge.
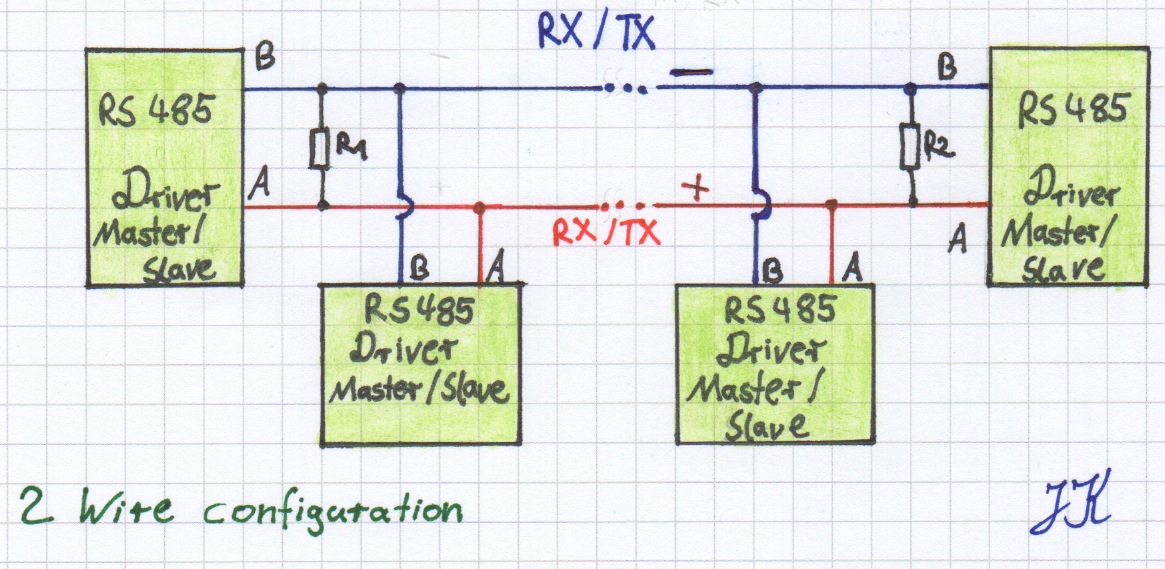
There are many reasons why you may need an RS485 bus. Imagine you have a cluster of microcontrollers and/or embedded computers far away from each other. Then an RS232 or TTL serial connection is not useable, because the cables are to long, the signal is damped and data cannot be transmitted. With a RS485 bus it is possible to use a cable length up to 1200 m (with a data transmission speed of 100 kbit/s). The RS485 bus normally uses two wires, + and -, this configuration allows to use it half-duplex (members can talk to each other but sending and receiving at the same time is not possible).
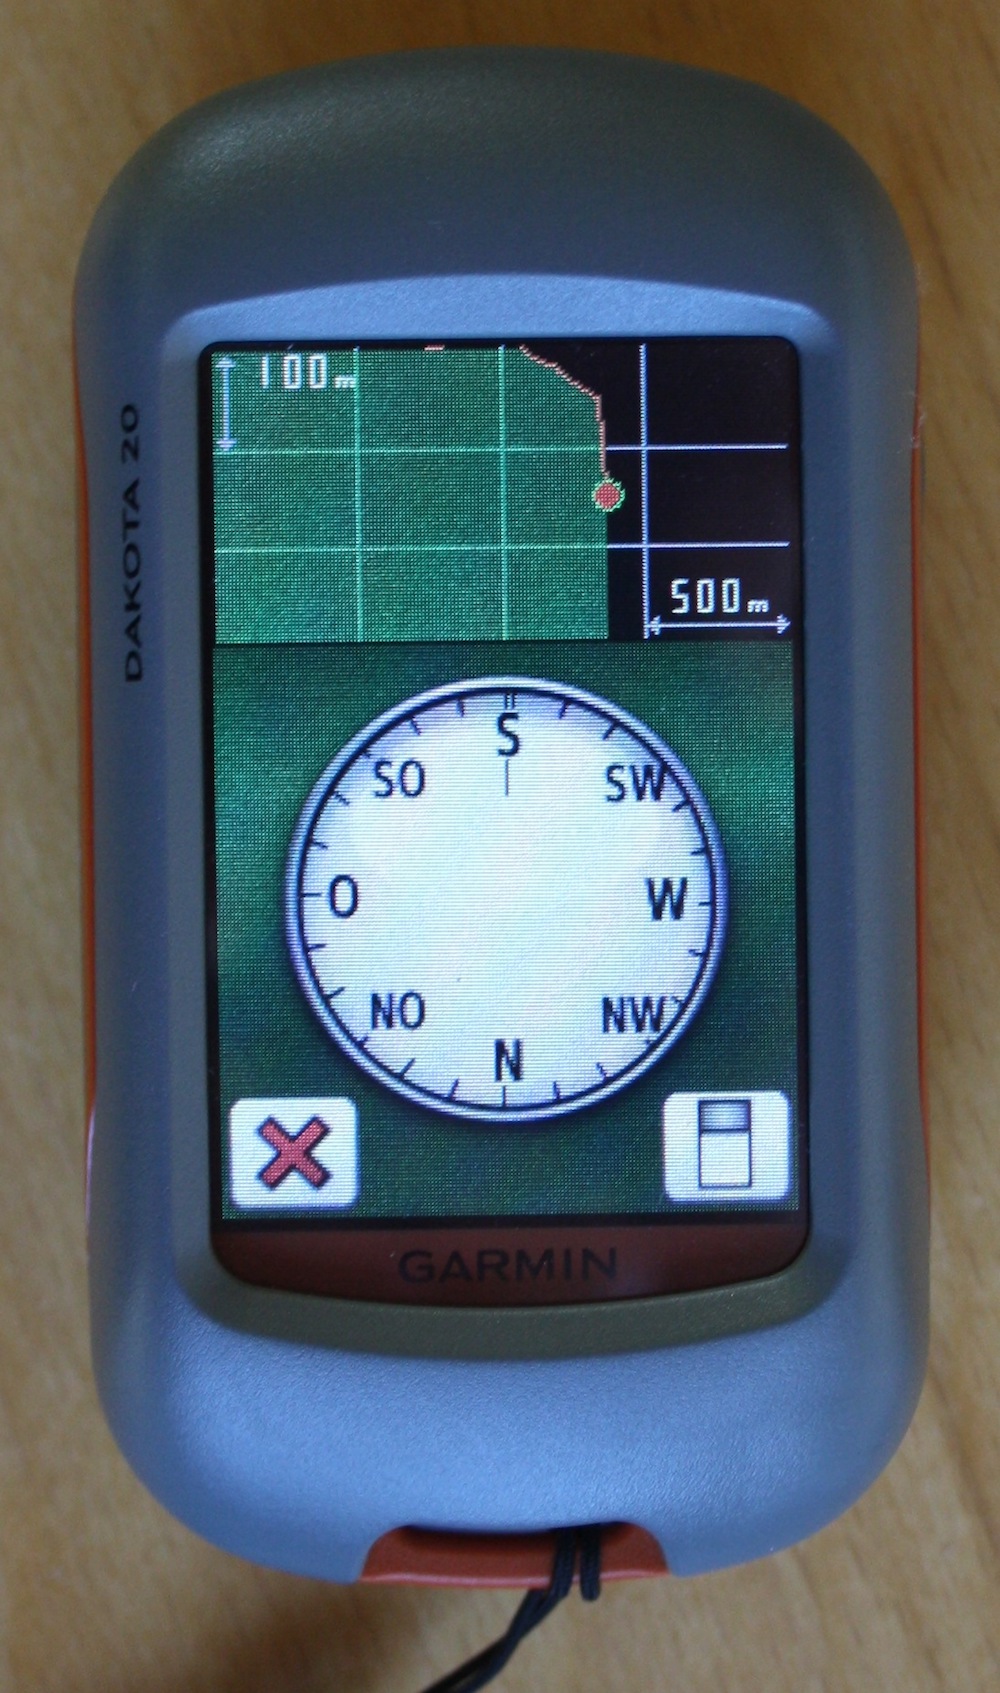
 My girlfriend bought a handheld gps with an integrated compass sensor. I was fascinated by watching the virtual pointer turn around (in realtime) depending on the current heading. That was the moment were I was inspired and thought that this could not be that hard and can easily be rebuild.
So I decided to try it by myself. Because I had all the necessary things laying around it was pretty fat forward to get started.
- Arduino Mega
- LCD Shield
- Jumper Wires
- Compass Module: Just ordered the HMC6352 on a breakout board from sparkfun
First I tried to retrieve data from the HMC6352 module and tried to display it with the LCD shield.
It is a bit tricky to get the heading data from the HMC6352 module, because it is connected to the Arduino via I2C. Therefor it is very important to have the datasheet at hand (and the knowledge how to read and send data wih the arduino via I2C).
How to read and send data via I2C can be found at the Arduino Playground.


